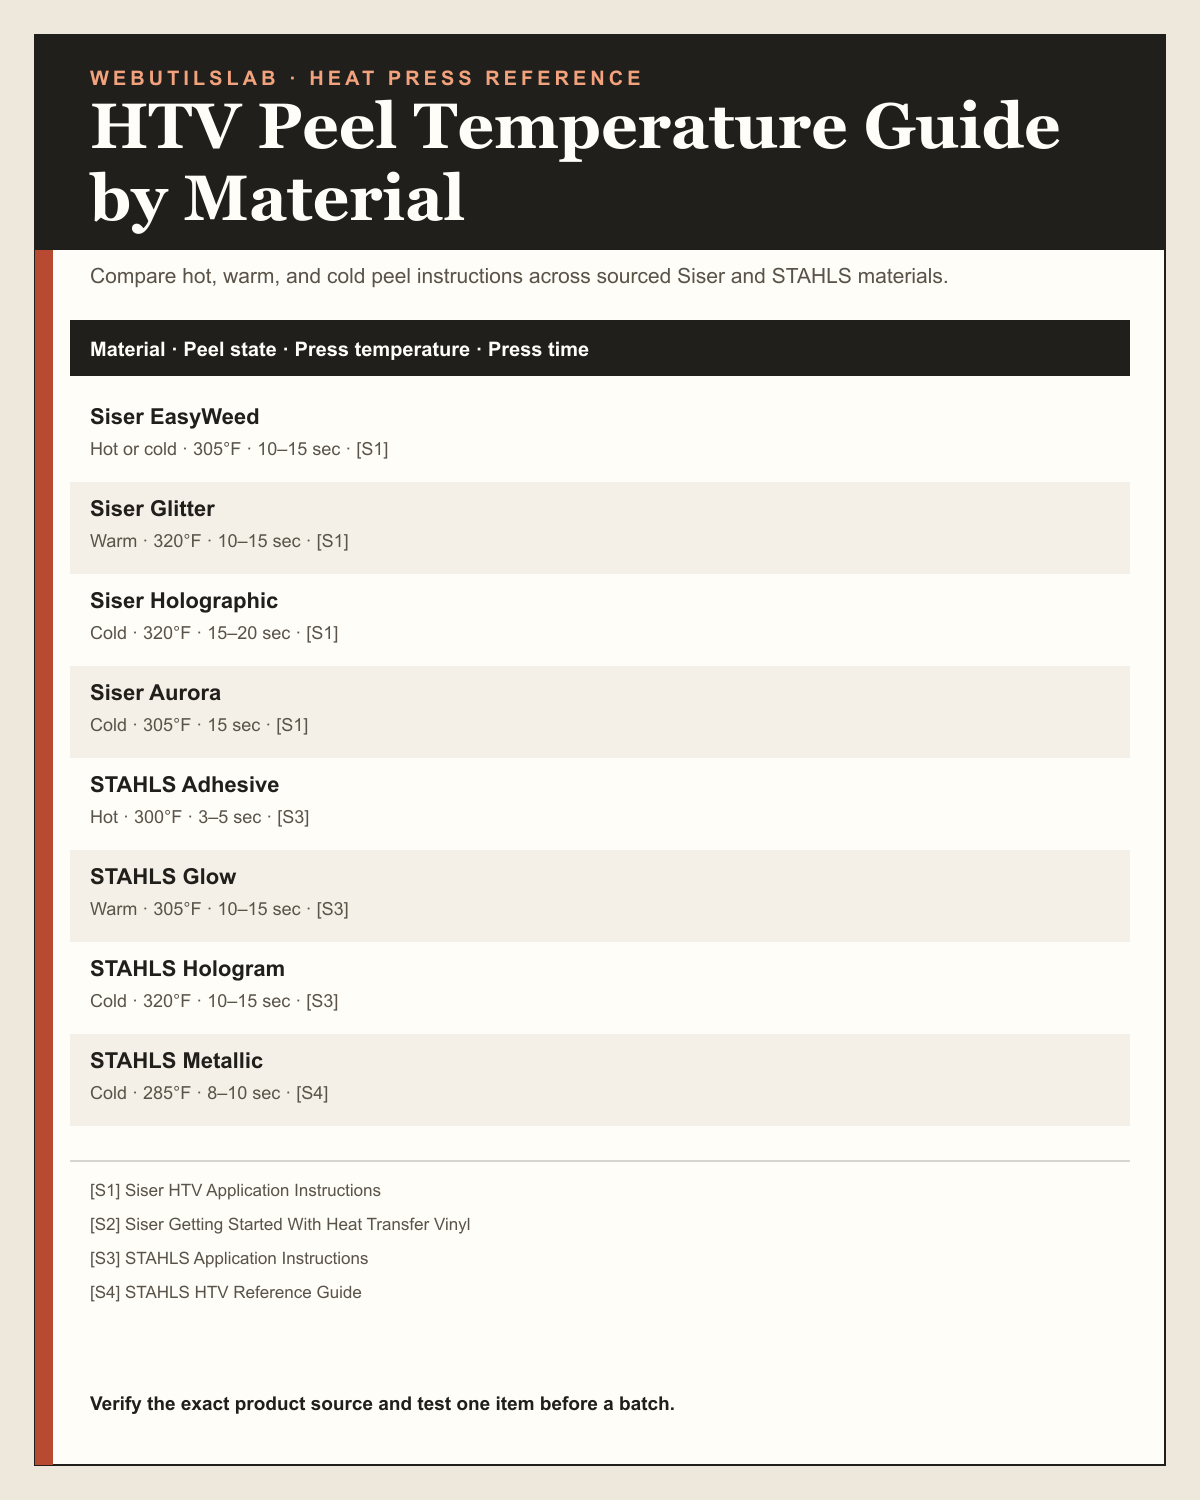
HTV Peel Temperature Guide by Material
Peel timing is part of the application specification; use this chart to avoid lifting a carrier at the wrong stage.
| Material | Peel state | Press temperature | Press time | Source |
|---|---|---|---|---|
| Siser EasyWeed | Hot or cold | 305°F | 10–15 sec | [S1] |
| Siser Glitter | Warm | 320°F | 10–15 sec | [S1] |
| Siser Holographic | Cold | 320°F | 15–20 sec | [S1] |
| Siser Aurora | Cold | 305°F | 15 sec | [S1] |
| STAHLS Adhesive | Hot | 300°F | 3–5 sec | [S3] |
| STAHLS Glow | Warm | 305°F | 10–15 sec | [S3] |
| STAHLS Hologram | Cold | 320°F | 10–15 sec | [S3] |
| STAHLS Metallic | Cold | 285°F | 8–10 sec | [S4] |
How to use the HTV Peel Temperature Guide by Material
- Identify the exact material or garment.
- Read the complete row and its bracketed source key.
- Open the source and confirm the current manufacturer instruction.
- Run and record one test before repeating the setup.
Real-world examples
First sample
Inputs
- Exact product
- One sourced row
Result
A single test setup
Production check
Do not generalize the row to an unnamed substitute.
Units and parameters
Keep units consistent from design setup through pressing notes. When the tool provides a preset, use it as a planning value and replace it with the actual garment or blank measurement when possible.
| Input or rule | What it changes |
|---|---|
| Material | Read the material value in the same row; do not mix columns from different products. |
| Peel state | Read the peel state value in the same row; do not mix columns from different products. |
| Press temperature | Read the press temperature value in the same row; do not mix columns from different products. |
| Press time | Read the press time value in the same row; do not mix columns from different products. |
| Source | Read the source value in the same row; do not mix columns from different products. |
Rule and assumptions
Use the row for the exact named material or garment. Bracketed source keys identify the manufacturer or supplier table behind that row.
- Values apply to the named product or blank, not every material in the same category.
- Measure the actual garment or blank and test one item before a production batch.
- Press calibration, platen contact, seams, moisture, and finish can change a result.
Use this tool for
- Preparing a repeatable bench reference
- Comparing product-specific values before a test
- Recording the source used for an order
Worked example
Inputs
- One exact table row
- The linked source revision
- The actual blank or garment
Result
A sourced starting value and a written test note
When to use this
Before cutting or pressing a new product combination.
What to check before pressing
Confirm product name, substrate, source revision, press calibration, and platen contact.
Quick reference chart
| Use case | Starting point | Check before pressing |
|---|---|---|
| Siser EasyWeed | Hot or cold · 305°F · 10–15 sec | [S1] |
| Siser Glitter | Warm · 320°F · 10–15 sec | [S1] |
| Siser Holographic | Cold · 320°F · 15–20 sec | [S1] |
| Siser Aurora | Cold · 305°F · 15 sec | [S1] |
| STAHLS Adhesive | Hot · 300°F · 3–5 sec | [S3] |
| STAHLS Glow | Warm · 305°F · 10–15 sec | [S3] |
| STAHLS Hologram | Cold · 320°F · 10–15 sec | [S3] |
| STAHLS Metallic | Cold · 285°F · 8–10 sec | [S4] |
Common mistakes
- Using a similarly named product instead of the exact row.
- Skipping the linked source when a manufacturer revises instructions.
- Repeating a batch before checking one sample and platen contact.
Sources
Table rows use the source keys shown in brackets. Recheck the linked manufacturer instructions for the exact material, blank, and press before production.
- [S1] Siser HTV Application Instructions — Manufacturer time, temperature, pressure, and peel instructions.
- [S2] Siser Getting Started With Heat Transfer Vinyl — Manufacturer guidance on testing time, temperature, and pressure.
- [S3] STAHLS Application Instructions — Manufacturer application table.
- [S4] STAHLS HTV Reference Guide — Manufacturer product and fabric reference.
FAQ
Are the numbers in this htv peel temperature guide by material universal?
No. Each row is tied to the named material or garment and its bracketed source. Recheck the source and test the actual item.
Why do I need a test when the row has a source?
A source establishes the intended starting value. Press calibration, substrate variation, seams, moisture, and finish still affect the physical result.
How should I record a changed setting?
Keep the source value and the successful test value together with the product name, date, press, pressure method, and blank lot.